Tools to Inspect your 3D Printer's Parts
Prerequisites- How to Train your 3D Printer, Disassemble your 3D Printer
This is a continuation of the How to Train your 3D Printer Series, during which, we build a capable and reliable Ender-3. In the previous article, we disassembled our printer into its constituent parts in preparation for inspection. In this article, we review the tools that are needed to carry out that inspection.
In order to perform the printer parts' inspection, we will need the following measurement tools:
- Precision Ground 1-2-3 Blocks (4x)
- Dial Variance Indicator
- Flat Surface Plate
- Measurement Calipers
These inspection tools will run in the ballpark of \$100-\$200. It might seem absured to spend an amount equal to the cost of the printer in inspection equpment, but this is the cost of doing your own inspection. These tools will also be useful later for inspecting the parts that are made by the printer.
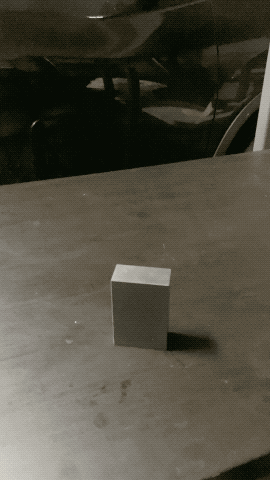
Precision Ground 1-2-3 Blocks
1-2-3 blocks are highly precise, ground blocks of steel with dimensions of $1.000$" by $2.000$" by $3.000$". All of the block's features are typically sized and oriented to within $\pm.0005$". These blocks come in a few different varieties, some with holes and some without.
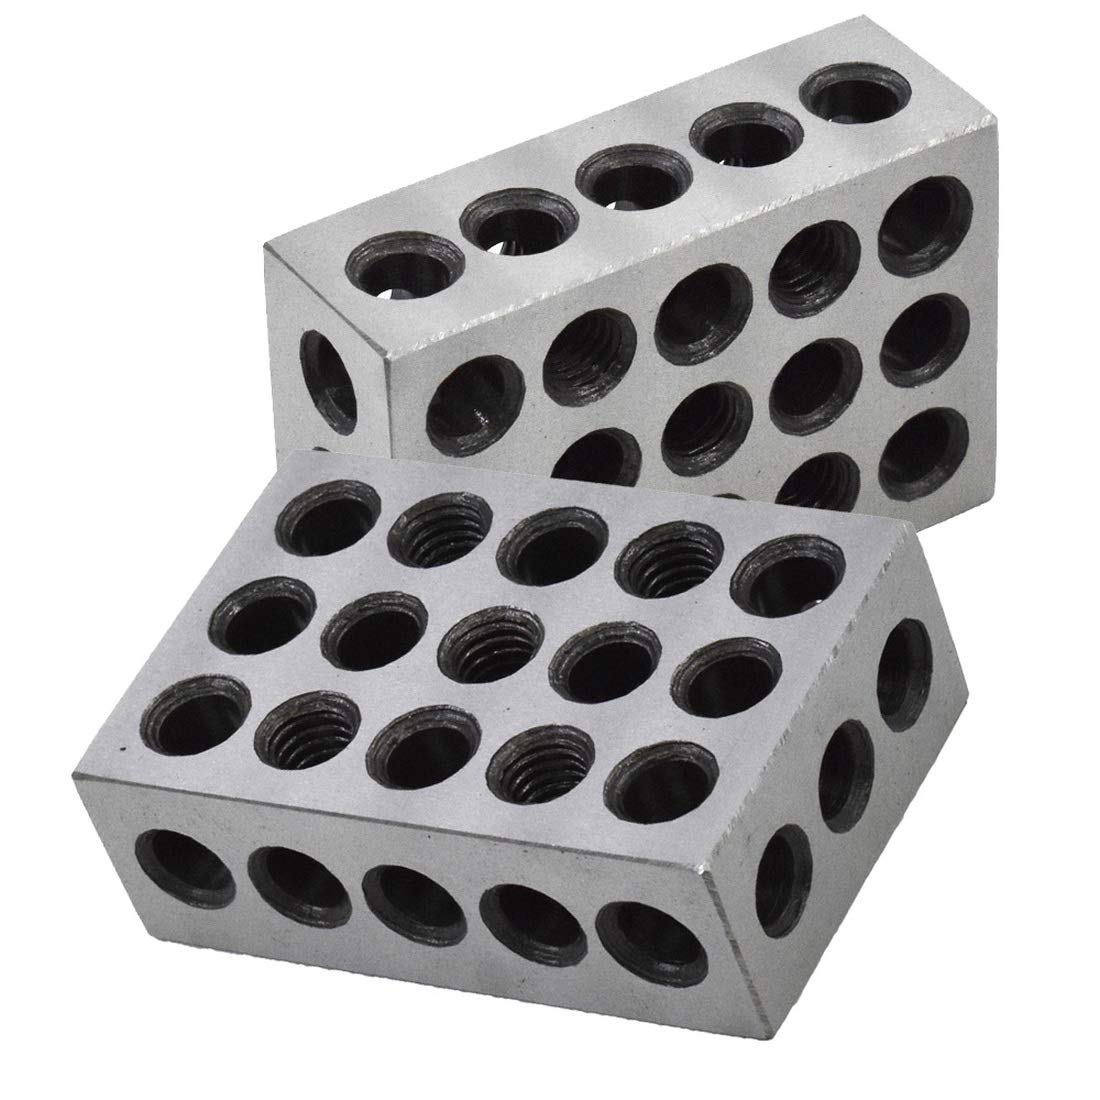
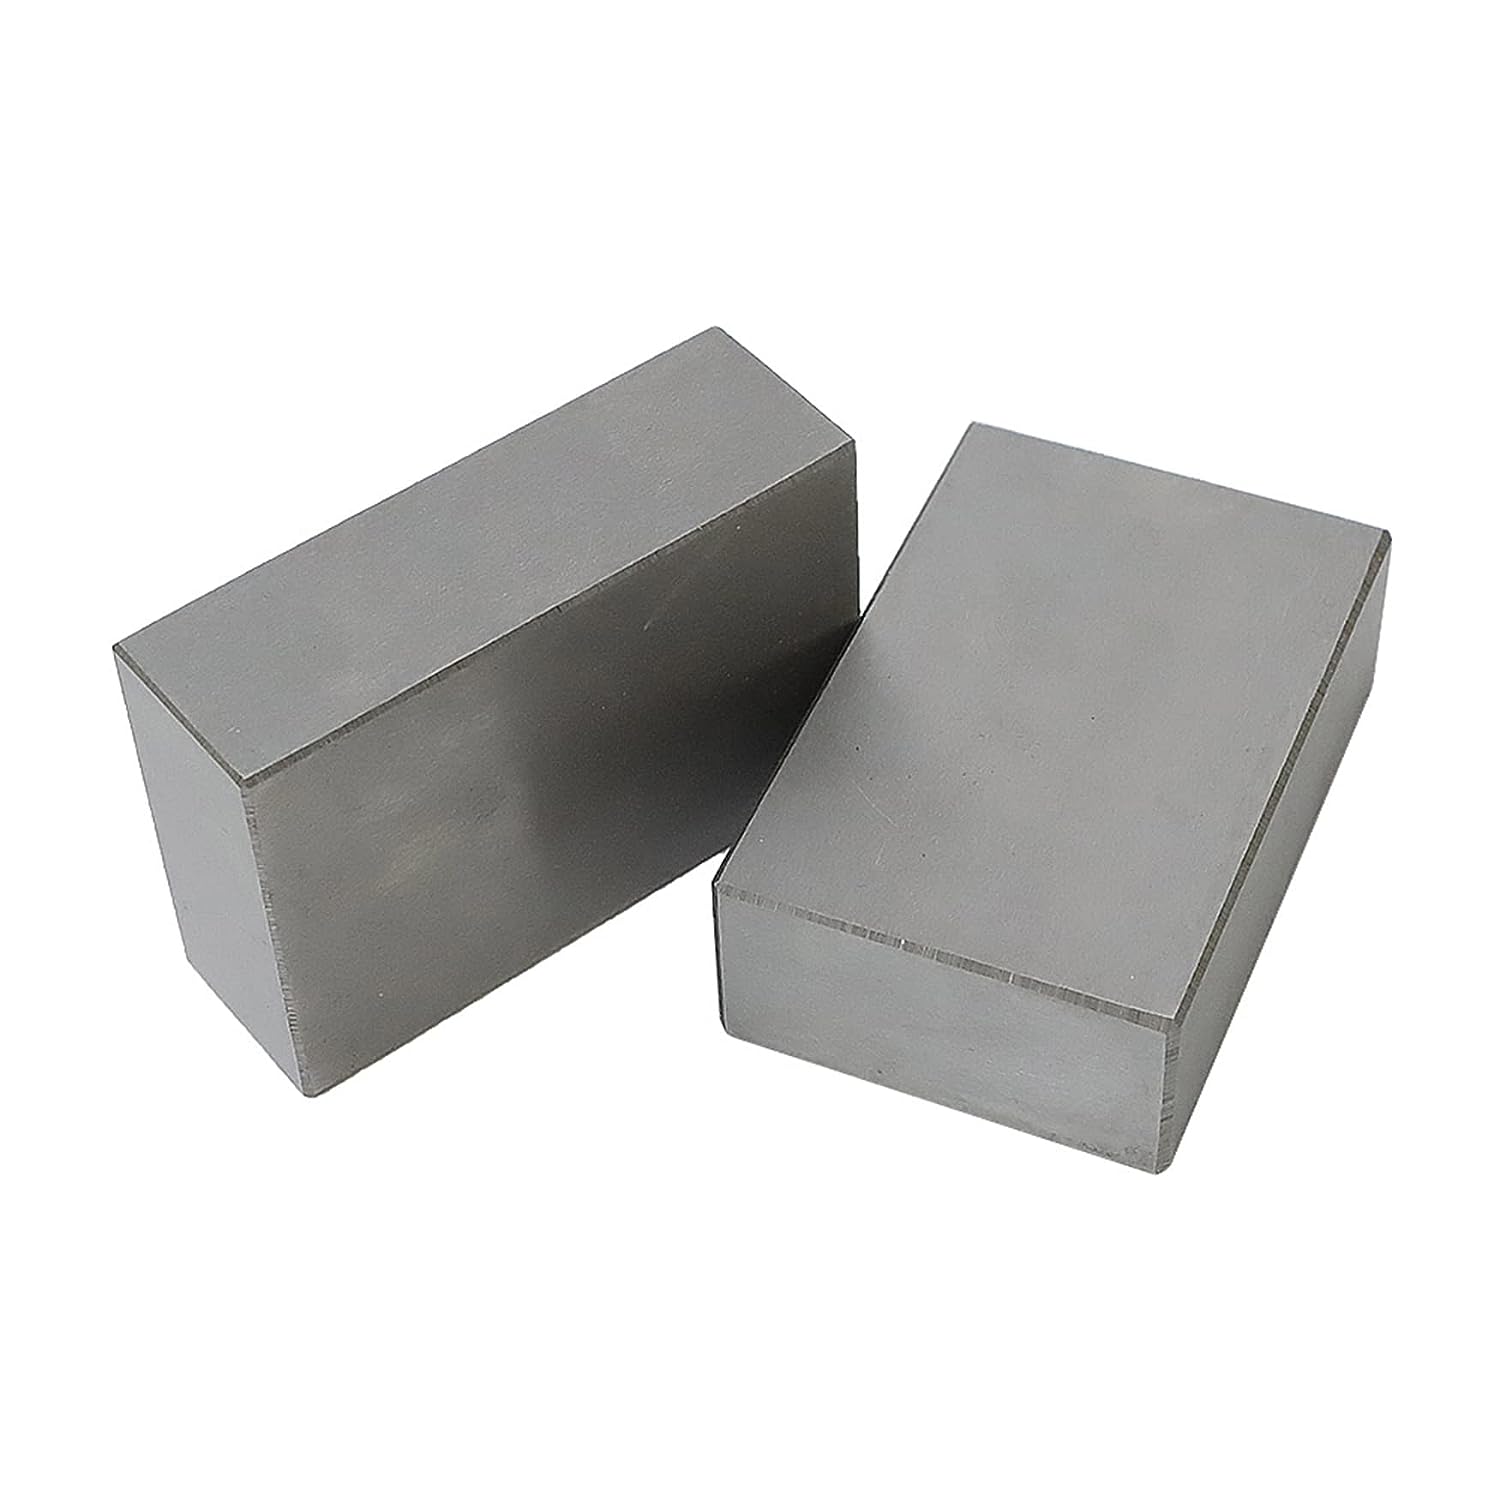
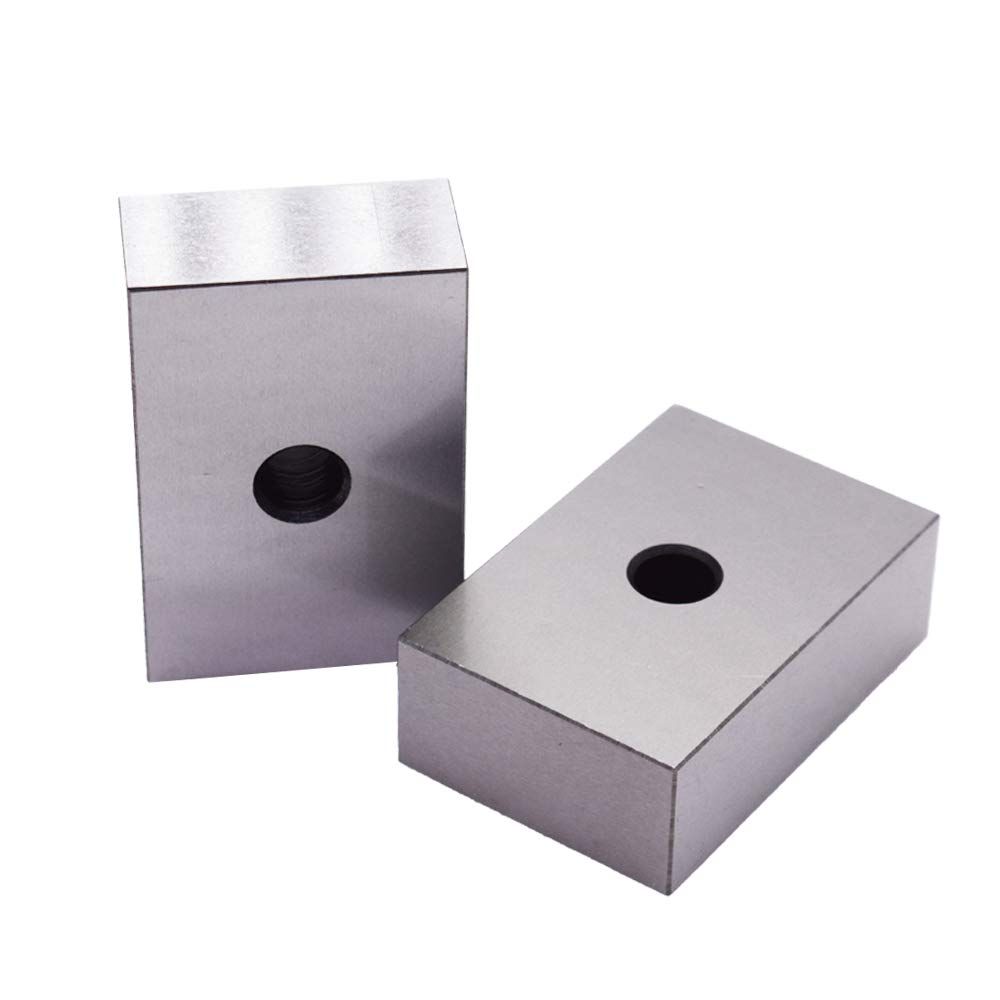
Figure 2:Left- 1-2-3 Block with holes, courtesy of WFLNHB | Center- Solid 1-2-3 block, courtesy of WFLNHB | Right- 1-2-3 block with single hole, courtesy of findmall.
1-2-3 blocks can be purchased from many sources including McMaster Carr, Misumi, MSC Industrial, and Amazon. Proper size and square 1-2-3 blocks can be quite cheap, though cheaper 1-2-3 blocks may have poorly dimensioned holes.
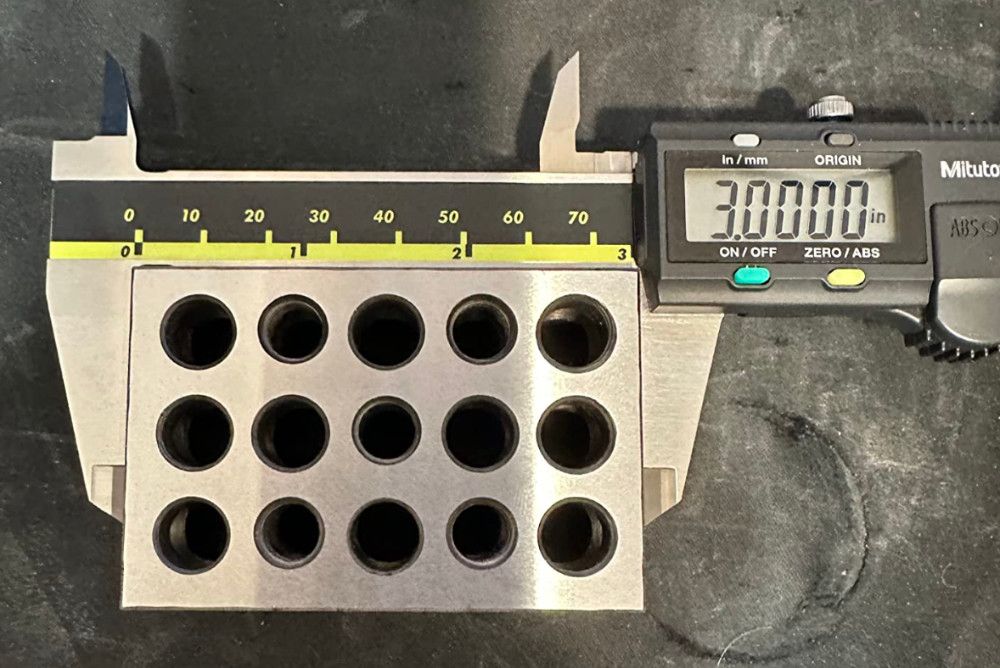
I've opted for simple 1-2-3 blocks from Amazon which are dimensionally accurate but have an inconsistent chamfer width. For $20, they get the job done.
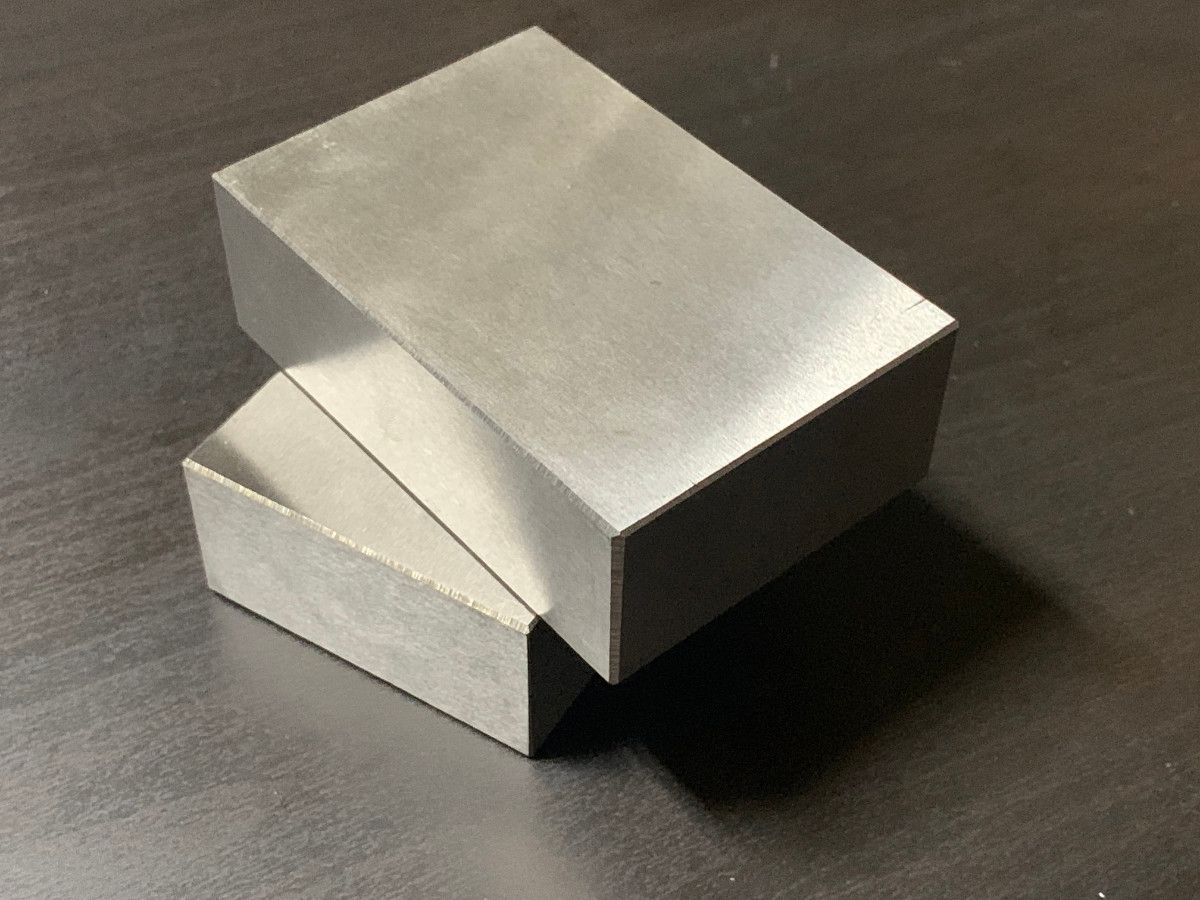
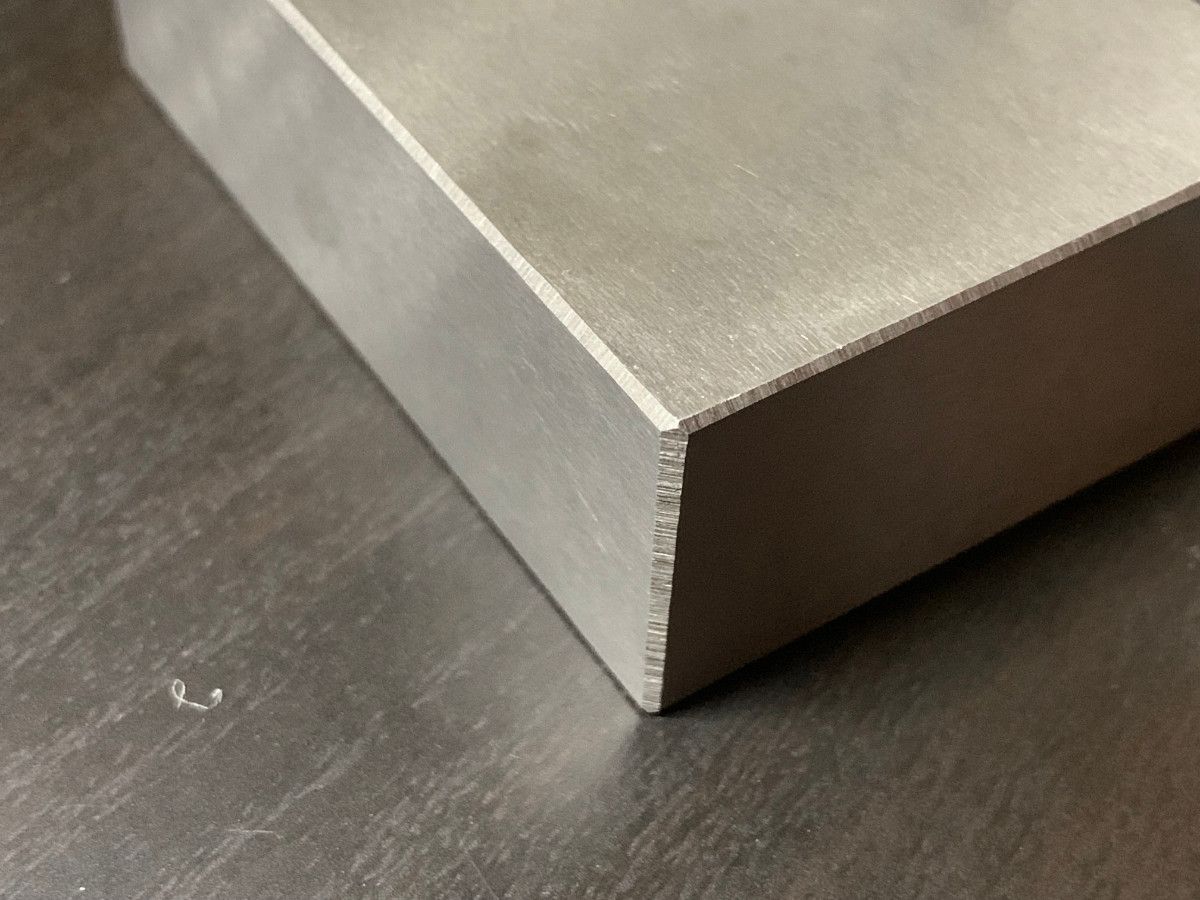
Figure 4: The 1-2-3 blocks utilized for this series lack holes, are dimensionally accurate, and have inconsistent chamfer widths that don't really affect their usefuless for inspection.
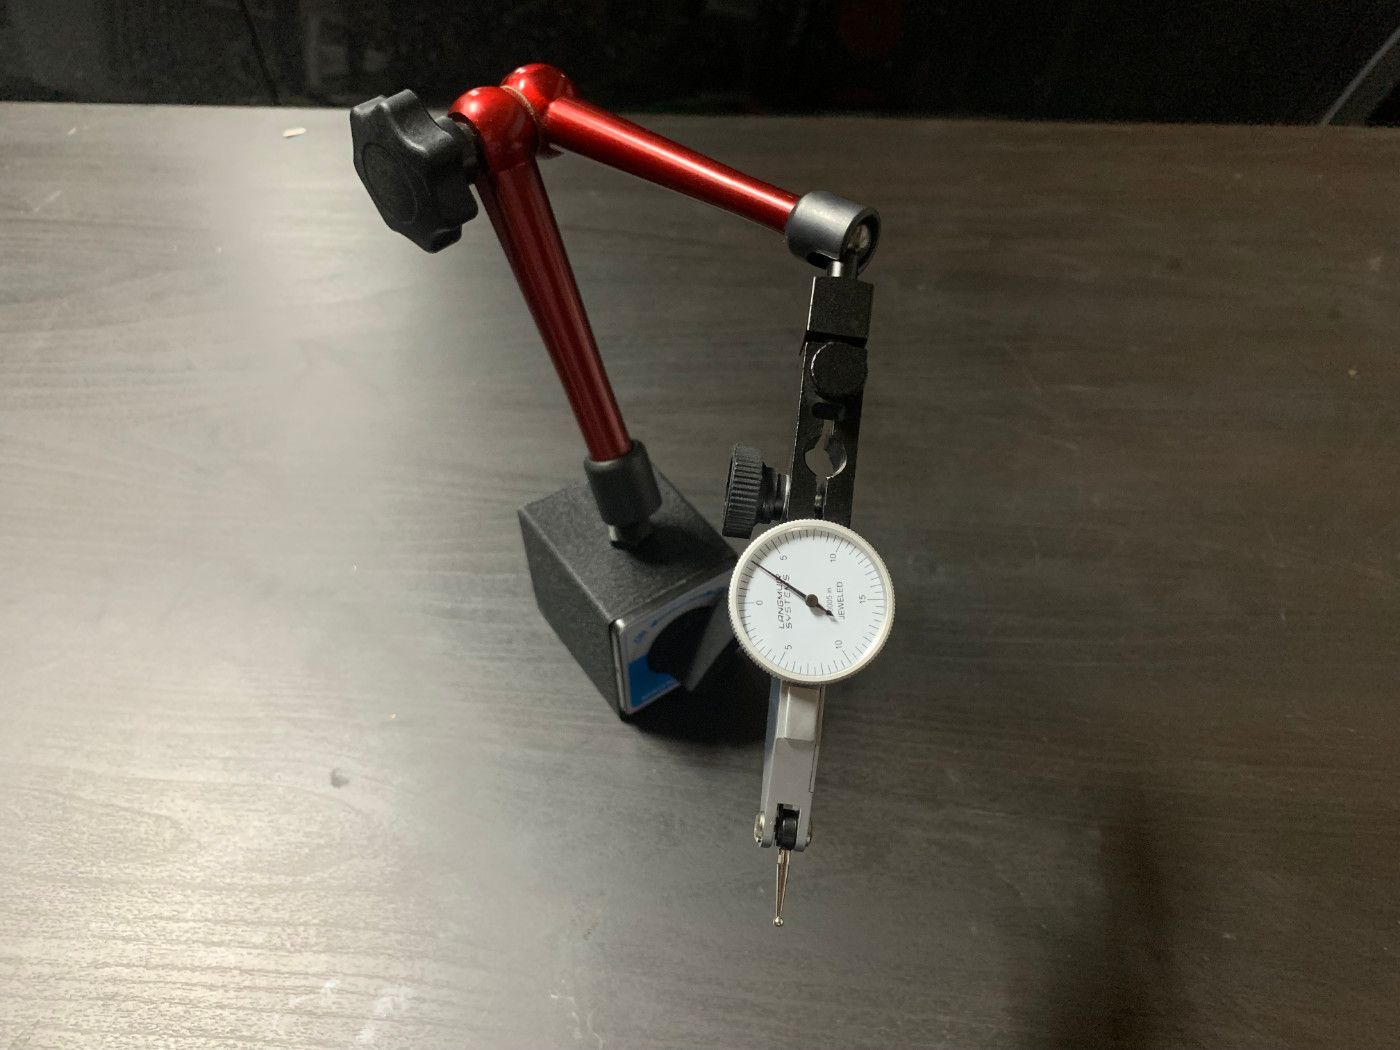
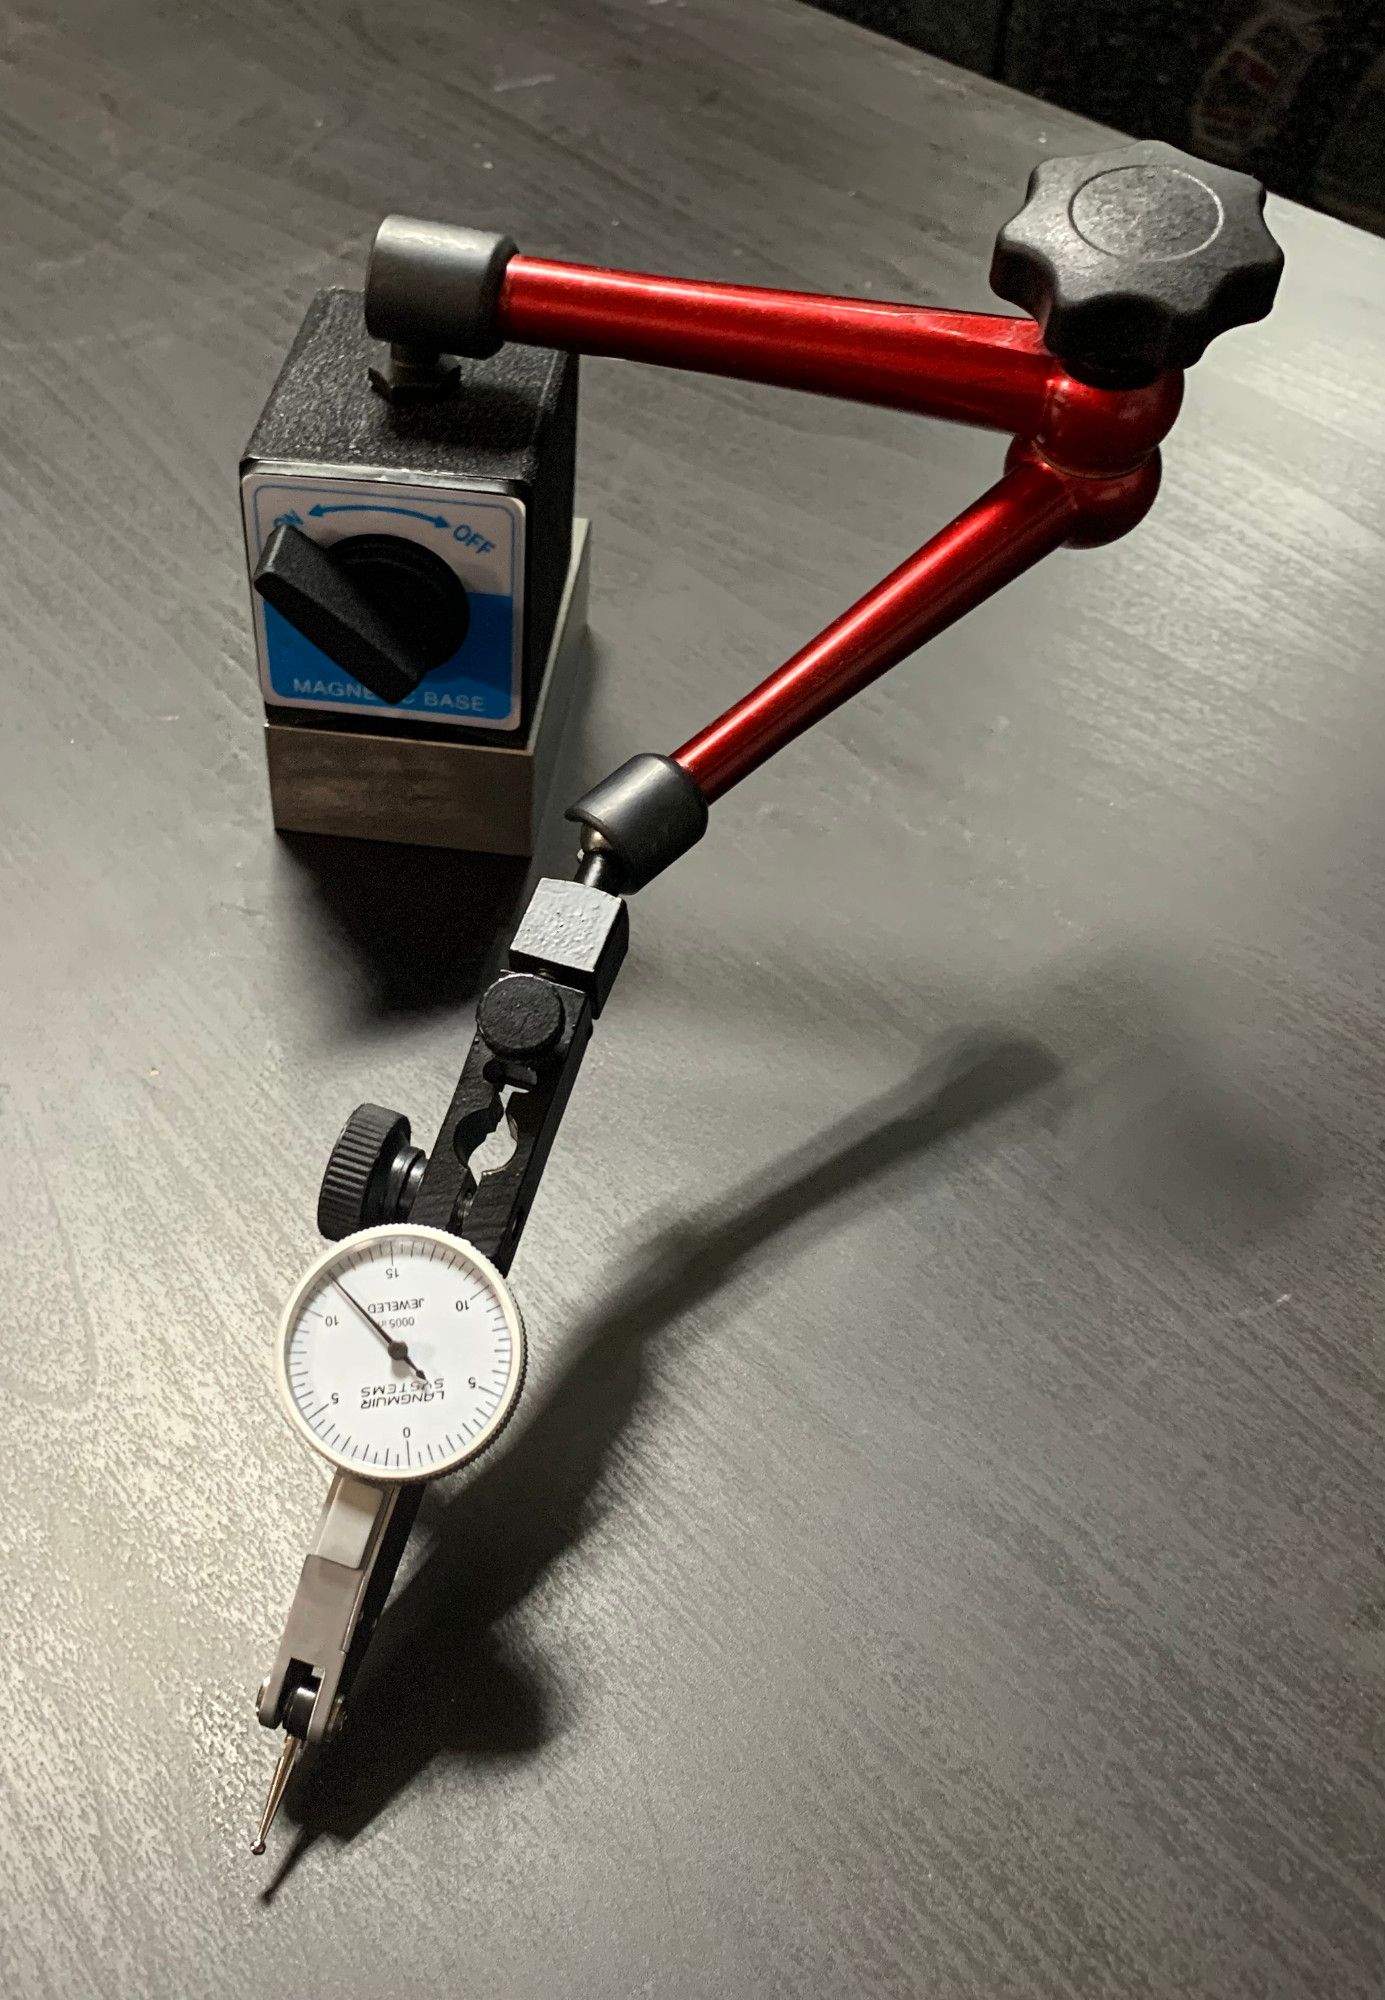
Dial Variance Indicator
Dial variance indicators are measurement devices used to measure dimensional variation of a surface.
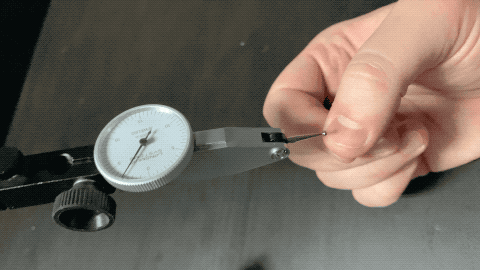
Variance indicators are often mounted to an adjustable stand with magnetic locking on the base that allows for the indicator to be setup and adjusted for the mesurement process at hand. Together, the base and indicator are in the \$50-\$75 range.
Each measurement tic on this dial indicator represents $0.0005$" of displacement and the numbers on the indicator correspond to the number of thousandth's of an inch of displacement.
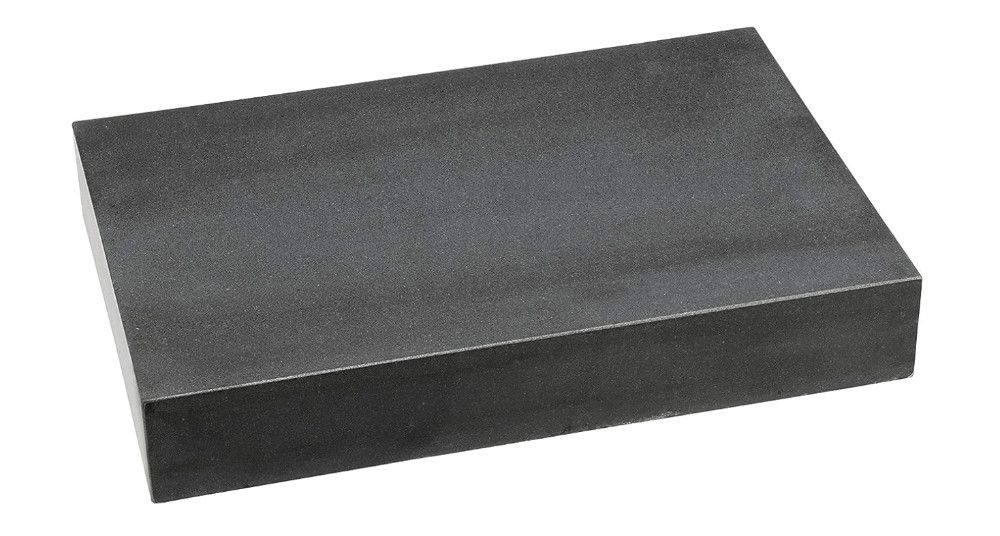
Flat Surface Plate
To check the surface deviation of our printer's parts, we'll need to set our indicator and parts on a flat surface! As a frugal hobbyist, the most compelling seemingly flat surfaces are work tables, countertops, concrete slabs, and home flooring.


Figure 7: Potential flat inspection surfaces exists in many places in and outside the home.
Ideally, we'd like the flatness of our plate surface to be less than $0.003$" so that we can be resonably confident in the measurement of our printer part's quality. If our surface is only flat to $0.020$", then we have little confidence in being able to measure flatness of a part on the table.
Dial variance indicators mounted to a 1-2-3 block (which provides a flat and smooth sliding surface) are excellent tools for inspecting the flatness of a surface.
To test a surface the dial variance indicator is rotated on the surface. The difference between the maximum and minimum of the indicator during this sweep corresponds to the flatness. The indicator can also be moved in a straight line on the surface to look for local surface deviation between the base and tip of the indicator.
In the below tests, three difference common household surfaces (concrete, table, and tile) are tested for flatness by rotating the dial indicator in place.

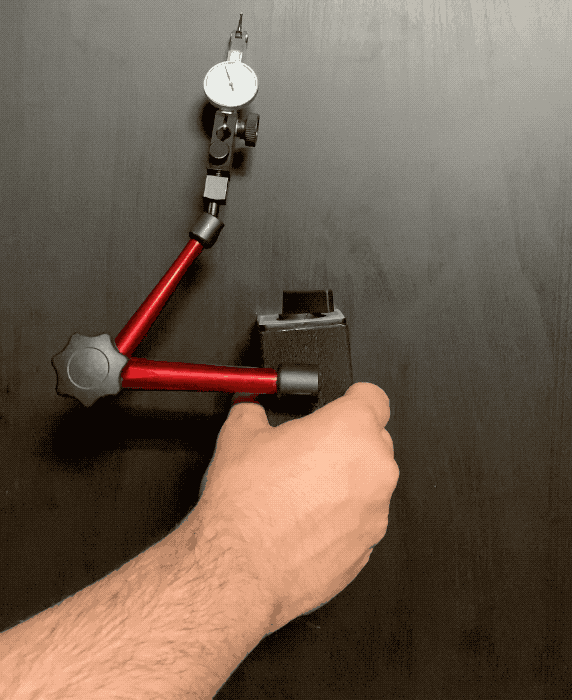
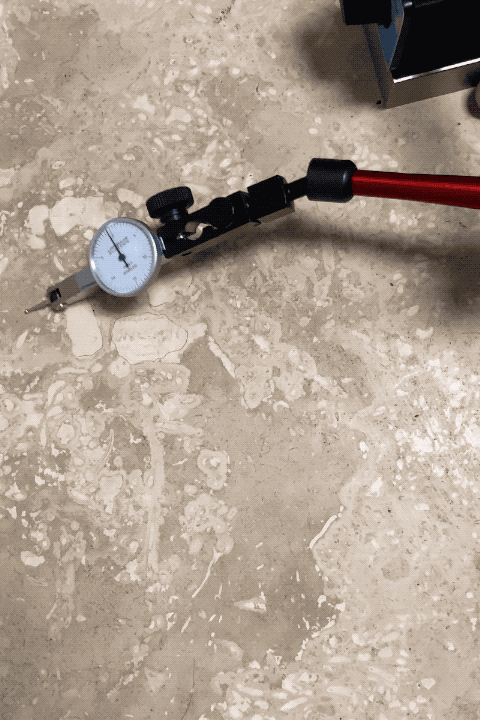
Figure 9: Flatness inspection of 3 different common household surfaces. Left- Concrete Slab | Center- Table | Right- Tile
Of the three surfaces, only the tile comes close to our desired level of flatness. Don't assume there is anything particularly special about tile in general, this was the third tile I measured, the first two had flatness measurements $>0.008$".
If you don't want to experiment to find a household surface that happens to be very flat, I recommend purchasing a $12$"x$18$"x$3$" granite surface plate ($\approx\$150$). Just about any granite surface plate will have flatness far better than any household surface. Using the variance indicator measurement already described, you can spot-check that your granite plate is of acceptable flatness.
Granite plates are great, but their size and weight can make them unwieldy. In the interest of demonstrating that a granite plate is not strictly required, I have opted to use my CNC milling machine table as the inspection surface. Had I not had this surface in my shop, I would have chosen the tile.
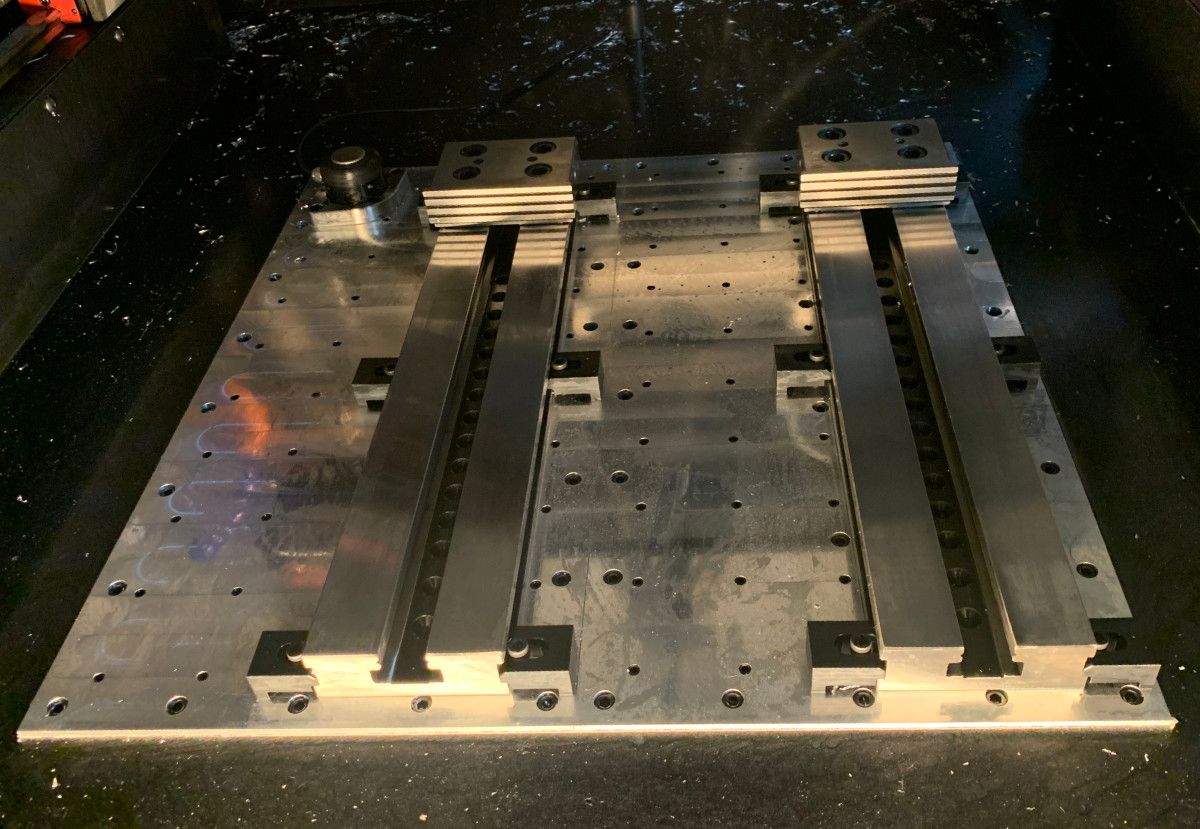
As shown below, flatness of the table is well within 0.001".
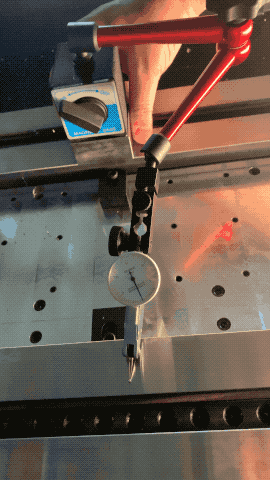
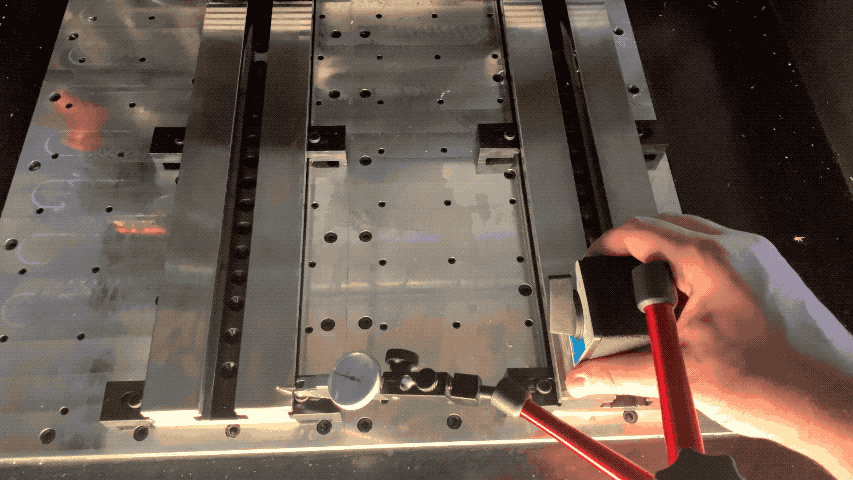
Figure 12: Inspecting flatness of CNC Milling Table
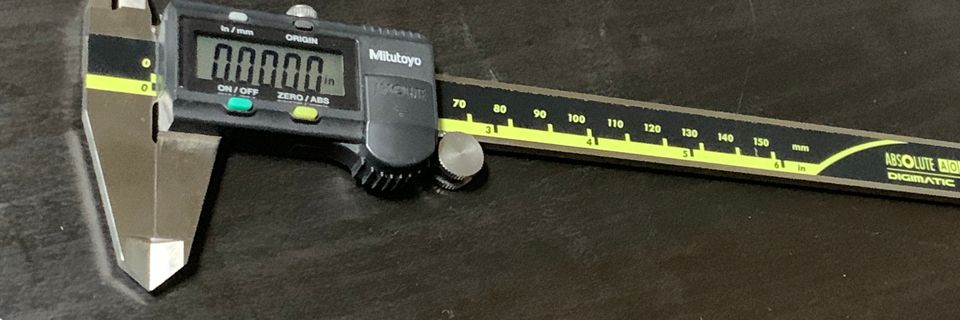
Measurement Calipers
Measurement calipers are very useful for measuring linear dimensions; external, internal, and steps.
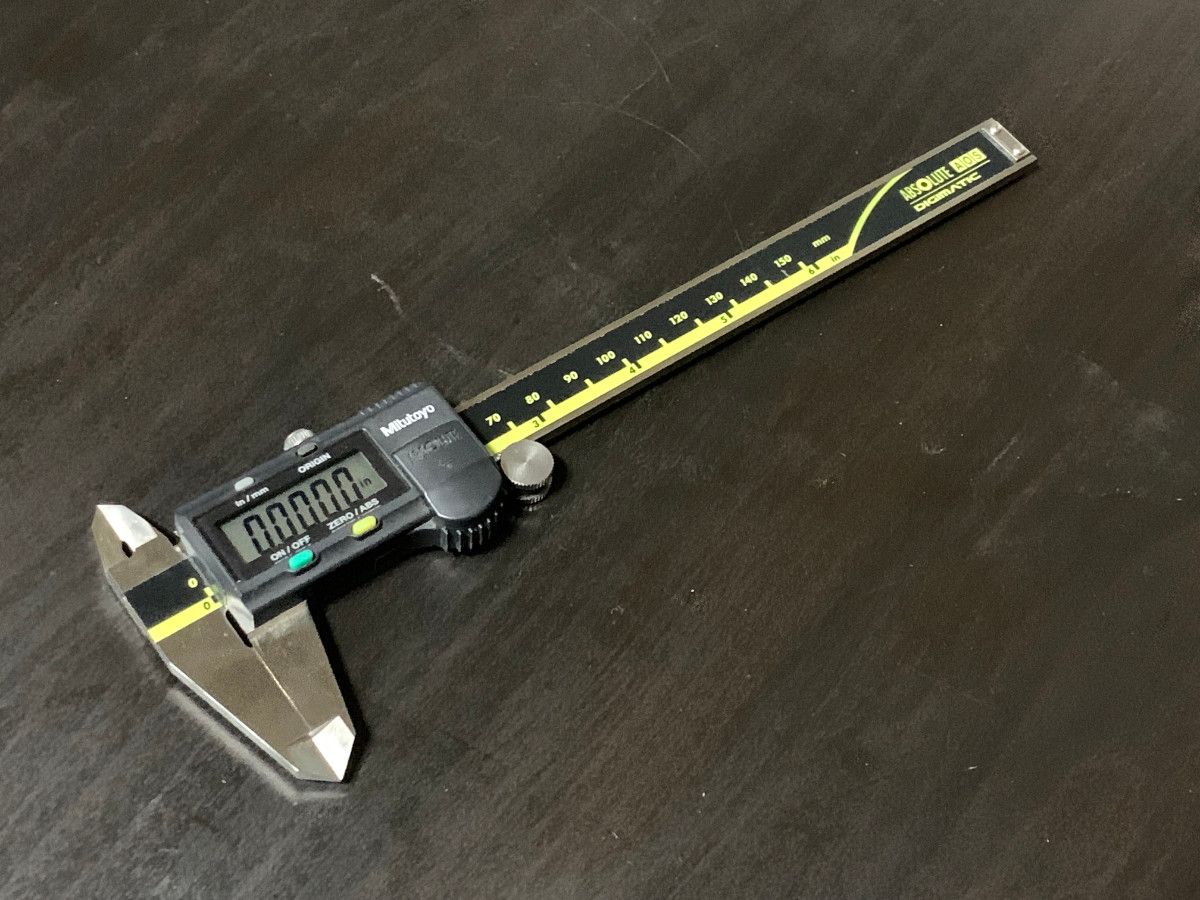
Mitutoyo is the premier brand of caliper (normally \$100-\$200) but perfectly acceptable calipers can be purchased for \$25. Just make sure the ones you buy have a resolution of $0.001$"|$0.01mm$ and move smoothly.
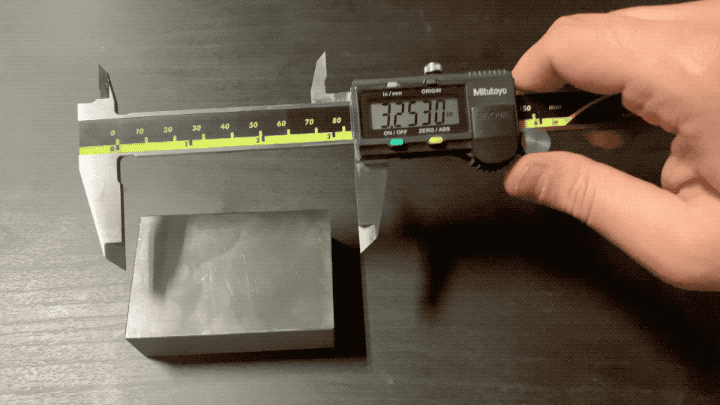
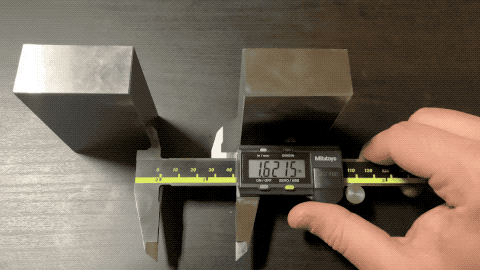
Figure 14:Left- Measuring external feature | Right- Measuring Internal feature
Next Steps
In the next article of this series, we will actually use these tools to inspect the parts of our printer.